How To Do A Proper Car Wash (Many Shops Don't Get This Right)
A proper car wash is more than simply spraying water and applying soap. Behind every safe and effective cleaning process is an essential principle many car owners overlook: detergent lubrication. This lubrication is not just a feature of premium shampoos—it is a critical protective layer that prevents scratches, preserves paintwork, and enhances the overall result of the wash. Whether performed at home or in a professional detailing shop, understanding the importance of detergent lubrication can help maintain a vehicle’s appearance and extend the life of its finish.
Detergent lubrication is an important aspect of safe and effective car washing. It protects paint, prevents scratches, reduces friction, improves cleaning efficiency, and preserves protective coatings. For anyone who values their vehicle’s appearance, choosing a high-quality, well-lubricated car shampoo and using it correctly is one of the simplest yet most important steps in long-term car care.
Steps to a Proper Car Wash
1. Prepare the vehicle and workspace
Park the car in a shaded area to prevent soap from drying too quickly and causing water spots. Ensure all windows are closed, remove loose debris, and organize your cleaning tools—buckets, wash mitts, detergent, brushes, and microfiber towels.
2. Perform an initial rinse without wiping
Use a hose or pressure washer to rinse the entire vehicle. This step loosens dirt, dust, and grime, reducing the risk of scratching the paint during washing. Do not wipe the car while doing the initial rinse. Without detergent lubrication, wiping with just water will scratch the paint. This is where many, many car wash shops get it wrong.
3. Apply high-quality detergent
Mix a proper car-wash-specific detergent with water. Apply the solution evenly using a foam gun or wash mitt. Avoid household soaps because they strip wax and harm the finish.
4. Allow the detergent to lubricate
Let the detergent sit briefly to break down road film, oils, and dirt. This lubrication minimizes friction, making the wash process safer for the paint.
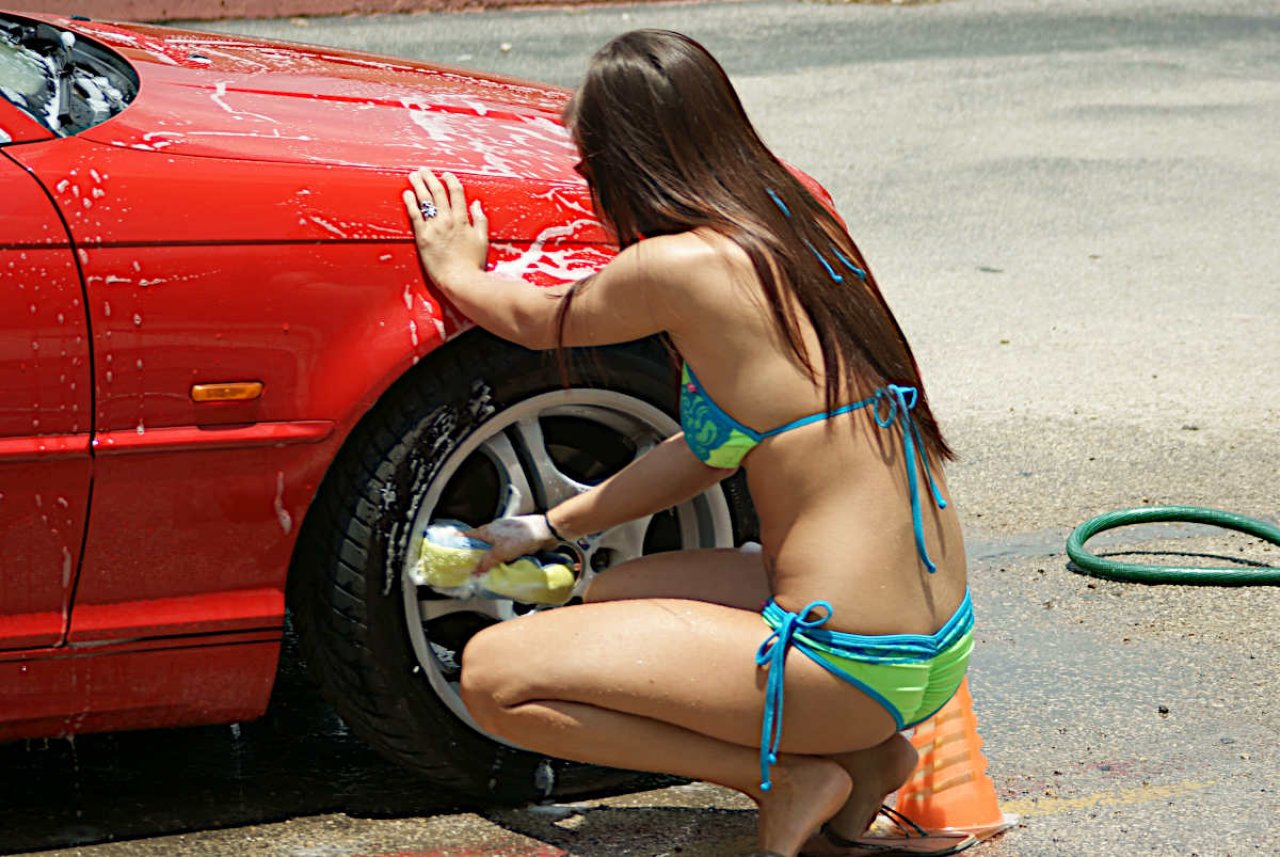
5. Wash using the two-bucket method
Use one bucket for soapy water and another for rinsing your mitt. Start from the top of the car and work your way downward. Clean small sections at a time to avoid drying marks.
6. Scrub wheels and tires separately
Use a dedicated brush and cleaner for wheels, tires, and wheel wells. Brake dust is abrasive, so never mix wheel-cleaning tools with body-cleaning tools.
7. Rinse thoroughly from top to bottom
After washing each section, rinse away soap to prevent residue. Rinse the entire vehicle again after the full wash to ensure no detergent remains.
8. Dry the vehicle properly
Use clean microfiber drying towels or a blower. Gently pat or glide the towel across the surface—never rub aggressively, as this can cause swirl marks.
9. Apply wax or sealant (optional but recommended)
For added protection and shine, apply a wax or paint sealant after drying. This step protects the paint from UV rays, road grime, and minor contaminants.
10. Clean the windows and mirrors
Use a glass cleaner and microfiber cloth to ensure a streak-free finish. Clean both exterior and interior surfaces for maximum visibility.
11. Wipe door jambs and hidden areas
Use a damp microfiber towel to clean the door jambs, trunk edges, fuel cap area, and other often-missed spots. This gives the car a truly complete and professional finish.
12. Perform a final inspection
Walk around the vehicle to check for missed spots, remaining water droplets, or soap residue. Touch up any areas as needed to ensure a perfect, spotless result.